Training for Mt. Whitney: Get the miles in, and get ‘em up high
When I set out on a 3-week road trip of the Eastern Sierras, I did not expect to climb Mt. Whitney. It never entered my mind, but my hiking partner was most definitely thinking about it. She very cleverly (some might say diabolically) kept mum and quietly planned a series of hikes to gradually acclimate to elevation and gain endurance. When she finally sprung the idea of a Whitney climb, I was skeptical - it seemed pretty extreme for the likes of me - but interested, and increasingly confident with each training hike.
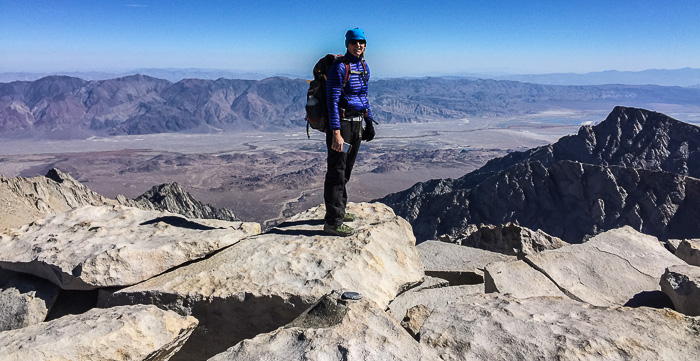
We had zero issues on the Whitney climb and tackled it in one day, hiking from 6am to 6pm. I have to attribute some of our success to dumb luck (the weather gods were with us) but the lion’s share came down to training, pure and simple. We each had a base level of fitness at the start of the trip since Karen has a physically demanding job and I’d been backpacking all summer training to hike the Shenandoahs. And in the 14 days prior to Whitney, we hiked nearly every day, working in long hikes at increasing elevation.
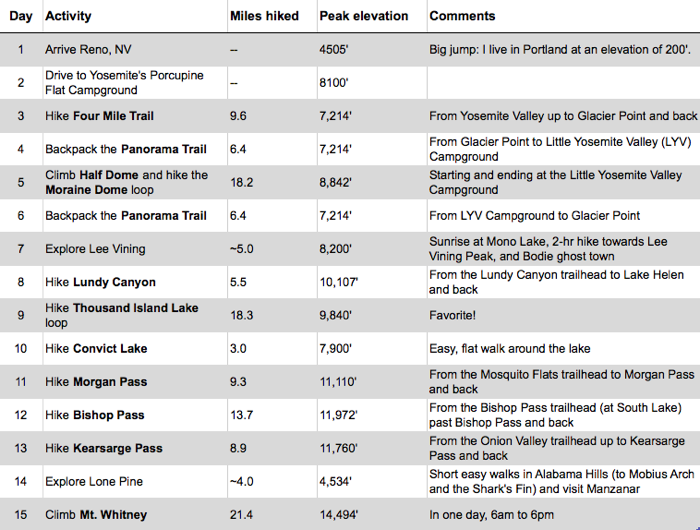
Our 14-day plan (described more fully below):
Whew! After all that, how could we not succeed?
Anyone tackling Whitney should be in excellent hiking condition, well-hydrated, and acclimated to elevation. Acclimation can be the toughest to accomplish, but it’s critical for a safe and successful climb. In this 2006 study, researchers gathered data from 886 Whitney climbers over a 12-day period and found that a full 43% met the criteria for acute mountain sickness (AMS).
So how do you acclimate? In his Outdoor Action Guide to High Altitude, Rick Curtis shares the following six guidelines (among others - read the full text for more):
- If possible, don’t fly or drive to high altitude. Start below 10,000 feet (3,048 meters) and walk up.
- If you do fly or drive, do not over-exert yourself or move higher for the first 24 hours.
- If you go above 10,000 feet (3,048 meters), only increase your altitude by 1,000 feet (305 meters) per day and for every 3,000 feet (915 meters) of elevation gained, take a rest day.
- “Climb High and sleep low.” This is the maxim used by climbers. You can climb more than 1,000 feet (305 meters) in a day as long as you come back down and sleep at a lower altitude.
- If you begin to show symptoms of moderate altitude illness, don’t go higher until symptoms decrease (“Don’t go up until symptoms go down”).
- If symptoms increase, go down, down, down!
Signs of AMS (aka Altitude Sickness) include headache, fatigue, dizziness, difficulty sleeping, loss of appetite, and nausea or vomiting. More acute symptoms can include confusion, gray or pale complexion, chest tightness, cough, difficulty walking in a straight line, and shortness of breath at rest.
Prior to the climb, hikers should avoid tobacco, alcohol, and depressants. Finally, check out Training and Preparing for Mt. Whitney from HikingGeek.com for practical training tips.
Looking back, I’m stunned at how much we hiked in two weeks, and how deeply I fell in love with the easy rhythm of it all. Get those training hikes in, both to get in shape, and to find sweet release. As Randy Morgenson mused (relayed in The Last Season by Eric Blehm):
Back in civilization I begin the questioning. What to do with life? What kind of life? In wilderness this ceases; the questions aren’t answered, they dissolve."
Here's my write-up of the Whitney climb; this post is focused on the lead-up. To find out more about the hikes on Days 3 through 8, check out these posts:
- Hiking Yosemite…and Loving it to Death?: Map and photos of Four Mile Trail, Panorama Trail, and the Moraine Dome Loop.
- Climbing Yosemite’s Half Dome: 6 Crucial Tips for a Successful Trip: Required permits, what to take, what to expect, etc.
- Lee Vining: He was a guy. It’s a place. Visit!: About Lundy Canyon along with other area interests like Mono Lake and Bodie.
Finally, this article gives hiking info for Lee Vining Peak which we approached from the Lee Vining Ranger Station. Read on for photos, maps, and resource links for the hikes on Days 9 through 13.
We were exclusively day-hiking, but permits are required for overnight trips in the Inyo National Forest. Before setting out, check their website for alerts and current conditions.
Thousand Island Lake
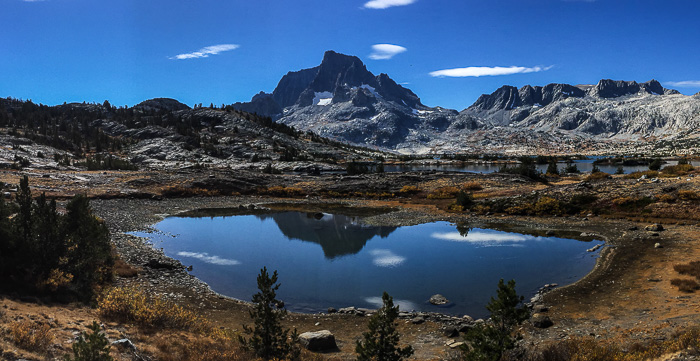
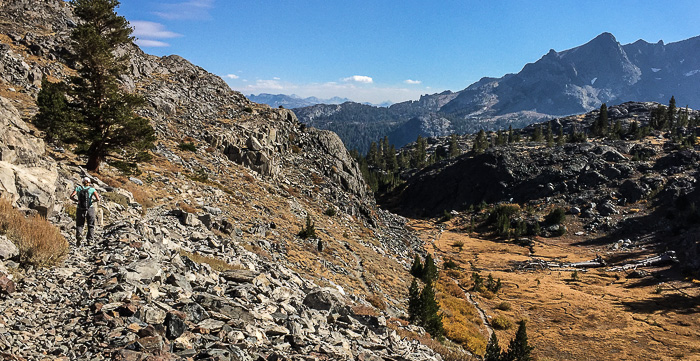
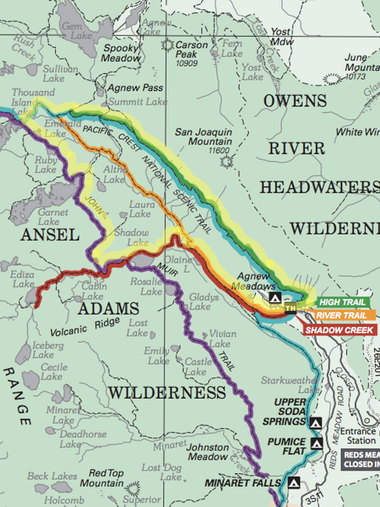
One of my favorites! We parked near the High Trail trailhead at Agnew Meadow and hiked the High Trail to Thousand Island Lake. At the lake, we turned south to hike past four more stunning little lakes: Emerald, Ruby, Garnet, and Shadow. From my trip notes: “Thought it’d be quick after Shadow Lake, but took a solid 2 hours of hiking to reach Agnew Meadow, most of it fairly boring through forest with no view, and some climb again (forgot that Agnew was up higher).” That sounds negative - I must’ve been tired! The hike finished on a high note as the sun dipped and set Agnew Meadow awash with golden glow.
We hiked for 8 1/2 hours and Runkeeper clocked 18.3 miles for the day. With serene lakes and secluded camping spots seemingly everywhere, this area begs to be backpacked for a few days.
Resource links: Detailed hike description; Forest Service website; Trail map.
For this hike, it’s important to note:
- If you’re staying at an area campground (or if the shuttle isn’t running), you’re allowed to drive in and park at the Agnew Meadows trailhead. Cars are charged a $10 fee at the Minaret Vista Station.
- Otherwise, you must take the Reds Meadow Shuttle. Check their website for current prices and information.
Convict Lake
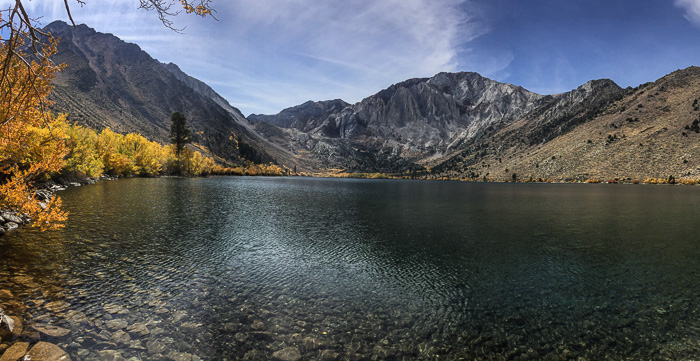
Convict Lake is aptly named: In 1871, 29 men broke out of the Carson City penitentiary, six of whom were tracked by a posse to Convict Lake some 200 miles away. A shootout ensued, and the convicts killed both the county sheriff and a Paiute Indian guide. That’s an awfully exciting past for this sleepy little lake!
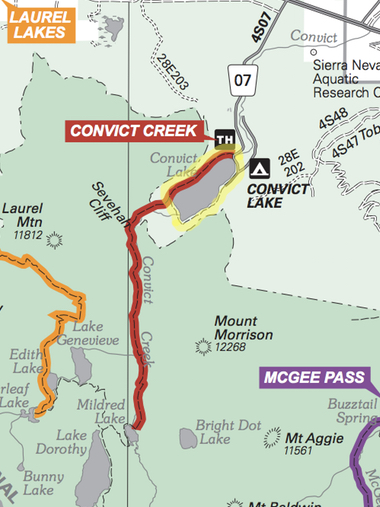
The 3-mile loop around Convict Lake was a welcome rest for tired legs; it hugged the shoreline and stayed relatively flat throughout. At the far end, there’s a brief section along a wooden boardwalk through a small stand of slender trees. This is an easy walk; we took 1 1/2 hours to stroll three miles.
Resource links: Location; Forest Service website; Trail map.
Morgan Pass
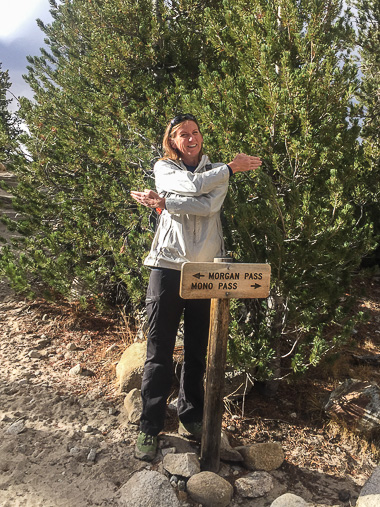
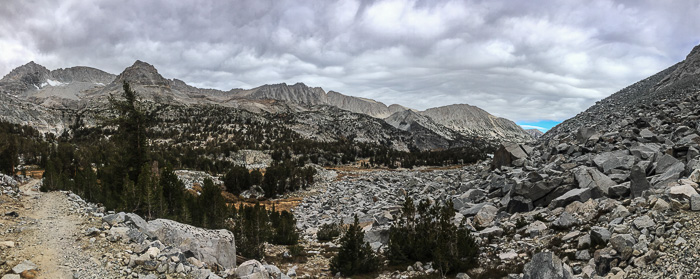
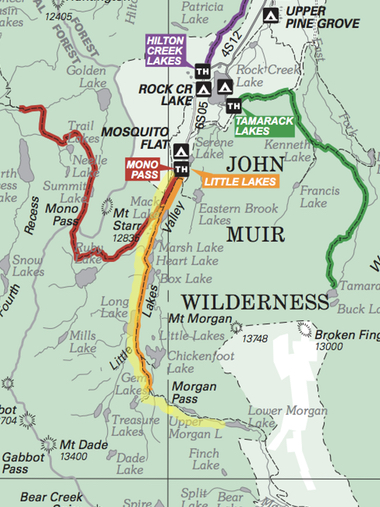
From the Mosquito Flats trailhead (aka Little Lakes Valley trailhead), you can hike to either Morgan Pass or Mono Pass. We chose Morgan since Karen had previously hiked to Mono. Comparing the two afterwards, she feels that Mono has a prettier view and is the better choice.
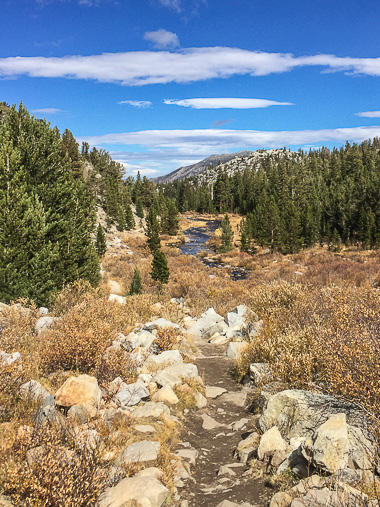
We took 4 1/4 hours to hike through Morgan Pass to Lower Morgan Lake and back. Outbound, we detoured to Chickenfoot Lake where Karen ice skated years ago. On the return, we took the side trail towards Gem Lake. Runkeeper indicated a total of 9.3 miles for the day.
One funny exchange highlighted the difference between an Alaska mountain-person (Karen) and a Portland lowlander (me): Looking up, I asked excitedly, “Oh! Is it snowing?!”, to which Karen replied, “No, but there’s definitely white stuff falling from the sky.” Ha! A group of Californians later sided with me - it was snowing!
Resource links: Detailed hike description; Forest Service website; Trail map.
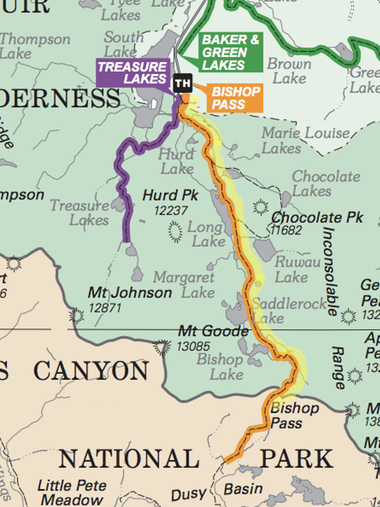
Bishop Pass
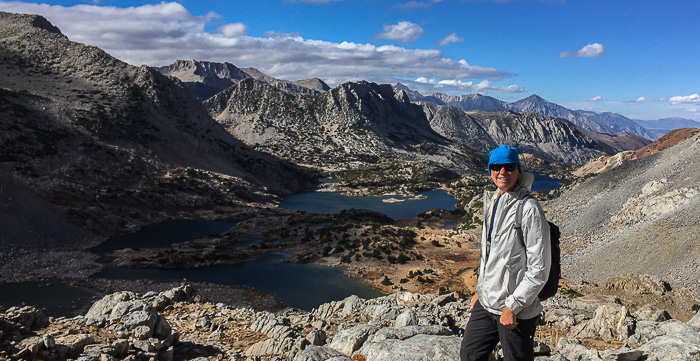
My favorite pass of the three we hiked; it was captivating start to finish. We passed multiple lovely lakes (of course that’s standard fare in these parts!) before reaching a grand stone staircase that segued to steep switchbacks. Once in the pass - bam! - blistering winds, cold as all get out, but then…OMG…the magnificent Dusy Basin came into view, spread below and beyond.
We hiked based on time available (rather than a specific end-point) and covered 13.7 miles in 6 1/2 hours. This is another area that begs to be backpacked; the trail eventually hooks up with the John Muir Trail and the Pacific Crest Trail.
Resource links: Detailed hike description; Forest Service website; Trail map.
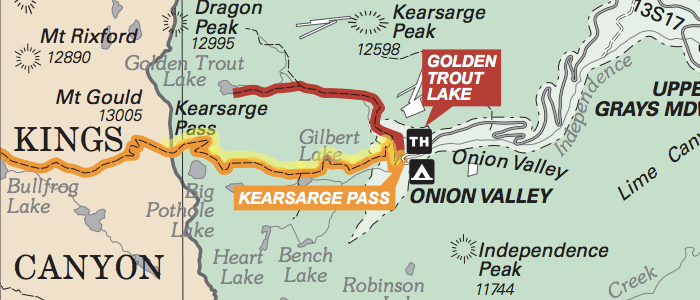
Kearsarge Pass
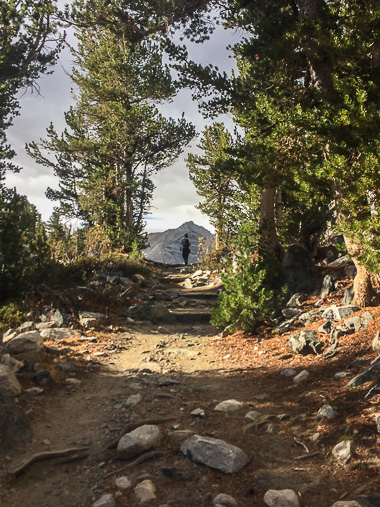
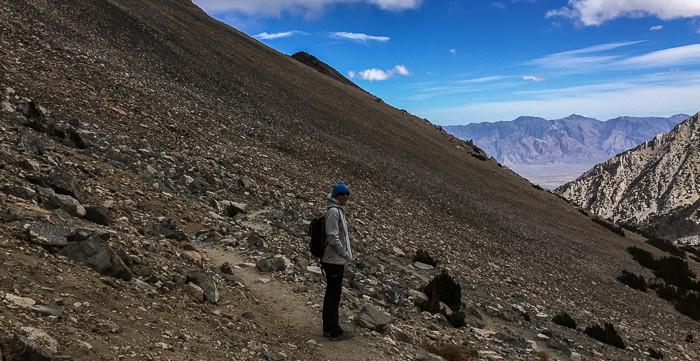
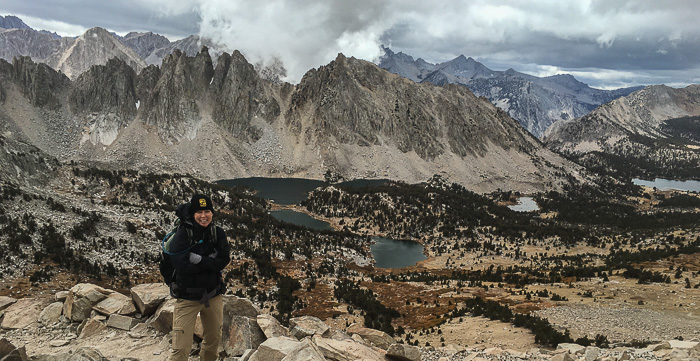
Though many list Kearsarge Pass as a favorite, I think it’s coming in second to Bishop Pass since we faced ominous weather and hightailed it up and back. It could also be the vast, steep rocky slopes near the top - not as pretty as Bishop’s approach.
As we drove the steep, winding road to the Kearsarge Pass trailhead (near Onion Valley Campground) I mused “Grey clouds above. Hmm…are we going to get precipitated upon today?” Why yes! The cloud cover and impending storm meant nothing but grey on the hike up, but the return trip offered glimpses of inviting blue skies in the valley below. Kearsarge is a popular trail, and we passed families gone fishing and backpackers heading for the backcountry.
Looking back, the view from Kearsarge Pass might beat out Bishop Pass with the magnificent Kearsarge Pinnacles providing a rugged backdrop for Kearsarge Lake and Bullfrog Lake. We hiked 8.9 miles in under 4 hours and would have envied the backpackers going further if not for the intense storm blowing in. As it was, we were mighty happy to head to Lone Pine and watch a Cubs game in Jake’s Saloon.
Resource links: Detailed hike description; Forest Service website; Trail map.
As you can see from the photos, you really can’t go wrong hiking in the Eastern Sierras. Pick a trail and go! Final fun fact: What does “Inyo” mean? “Dwelling place of the great spirit”, as described by local Native Americans.
This article is one of many written about a 3-week road trip spent hiking and camping in the Eastern Sierras and Death Valley. To see all articles, check out this trip summary.
[caption id="attachment_3366" align="alignnone" width="380"]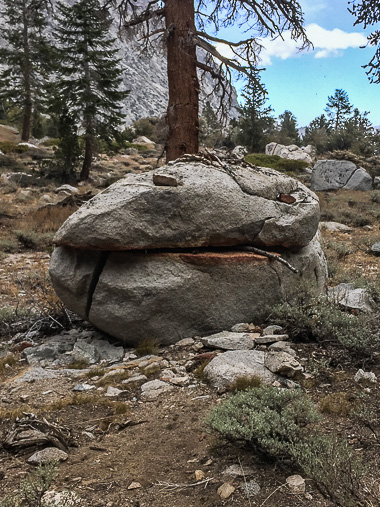 Jabba rock on the way down from Kearsarge Pass[/caption]
